[nginx]
name=nginx repo
baseurl=http://nginx.org/packages/mainline/centos/7/$basearch/
gpgcheck=0
enabled=1NGINX 入门到精通
概念
什么是 NGINX
Igor Sysoev 于 2004 年开源的一个项目,最初该项目主要要解决的是 C10K问题(超过 10,000 个并发连接处理的问题);后来 NGINX 公司成立,持续开发并创立了一个商业版本 NGINX Plus。
Nginx 主要有三种使用场景:
-
高性能 web 服务器 - 目前超过 50% 的 TOP 1000 网站使用 Nginx。
-
反向代理 - SSL/TLS Termination,Content caching and compression 3。负载均衡
NGINX vs. Apache
| NGINX | Apache |
|---|---|
NGINX configuration language — directive based |
Apache configuration language — directive based |
One processing method |
Multiple processing methods |
Supports dynamic, third-party modules |
Supports dynamic, third-party modules |
Similar performance for dynamic content |
Similar performance for dynamic content |
Faster for serving static files |
Slower for serving static files |
No concept equivalent to .htaccess files |
Concept of .htaccess files for directory localized configuration |
NGINX vs. NGINX Plus
安装
二进制安装
本部分在 CentOS 7 上二进制安装。
/etc/yum.repos.d/nginx.repo 内容如下|
Note
|
如果选择安装 stable 则修改 baseurl 为 http://nginx.org/packages/stable/centos/7/$basearch/
|
yum update -y
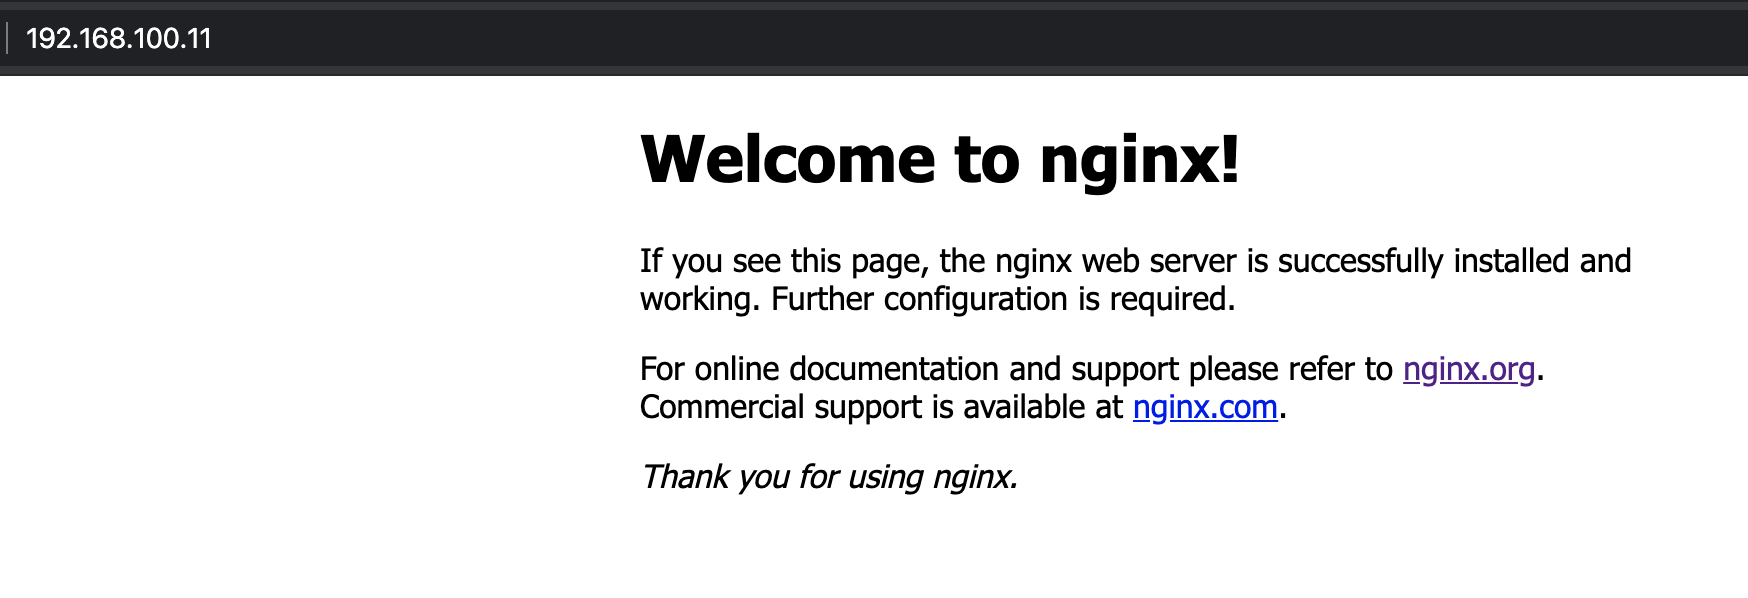
yum install -y nginxsystemctl start nginx && systemctl enable nginx && systemctl status nginx4. 访问测试

编译安装
wget https://nginx.org/download/nginx-1.20.0.tar.gz
tar -xvf nginx-1.20.0.tar.gz && cd nginx-1.20.0yum groupinstall 'Development Tools'
yum install zlib-devel -y
yum install pcre-devel -y# ./configure --help
# ./configure --prefix=/root/nginx
...
nginx path prefix: "/root/nginx"
nginx binary file: "/root/nginx/sbin/nginx"
nginx modules path: "/root/nginx/modules"
nginx configuration prefix: "/root/nginx/conf"
nginx configuration file: "/root/nginx/conf/nginx.conf"
nginx pid file: "/root/nginx/logs/nginx.pid"
nginx error log file: "/root/nginx/logs/error.log"
nginx http access log file: "/root/nginx/logs/access.log"
nginx http client request body temporary files: "client_body_temp"
nginx http proxy temporary files: "proxy_temp"
nginx http fastcgi temporary files: "fastcgi_temp"
nginx http uwsgi temporary files: "uwsgi_temp"
nginx http scgi temporary files: "scgi_temp"
# make
# make install server {
listen 8001;
server_name localhost;cd ~/nginx
./sbin/nginxcurl localhost:8001基本配置
安全能力
Rewrites
基本使用场景
配置一个静态资源 Web 服务器
server {
    listen       8080;
    server_name  book.example.com;

    #charset koi8-r;
    access_log  /var/log/nginx/book.access.log  main;

    location / {
        root   /usr/share/nginx/book;
        autoindex on;
        #set $limit_rate 10k;
        index  index.html;
    }

    error_page  404              /404.html;

    # redirect server error pages to the static page /50x.html
    #
    error_page   500 502 503 504  /50x.html;
    location = /50x.html {
        root   /usr/share/nginx/html;
    }

}
配置一个具有缓存功能的反向代理
curl http://192.168.100.71:8080/v3/api-docs
curl http://192.168.100.71:8080/api/fruits/2upstream local {
server 192.168.100.71:8080;
}
proxy_cache_path /var/cache/nginx/cache keys_zone=my_cache:10m;
server {
listen 80;
server_name fruits.example.com;
access_log /var/log/nginx/fruits.access.log main;
location / {
proxy_set_header Host $proxy_host;
proxy_set_header X-Real-IP $remote_addr;
proxy_set_header X-Forwarded-For $proxy_add_x_forwarded_for;
proxy_cache my_cache;
proxy_cache_key $host$uri$is_args$args;
proxy_cache_valid 200 302 10m;
proxy_pass http://local;
}
}curl http://192.168.100.11/api/fruits/2
// make sure the cache is working, force shutdown the upstream server, execute curl again
curl http://192.168.100.11/api/fruits/2配置 realip 模块
server {
    listen       80;
    server_name  realip.example.com;

    access_log  /var/log/nginx/realip.access.log  main;
    error_log   /var/log/nginx/realip.error.log  debug;

    set_real_ip_from 192.168.100.1;
    real_ip_recursive on;
    real_ip_header X-Forwarded-For;


    location / {
        return 200 "Client real ip: $remote_addr\n";
    }


}$ curl -H 'X-Forwarded-For: 1.1.1.1,192.168.100.1' http://192.168.100.11
Client real ip: 1.1.1.1配置一个 HTTP Basic Authentication 的 Web 服务器
// install
yum install httpd-tools -y

// generate password file
htpasswd -cb http-basic-auth.pass  admin admin
htpasswd -b http-basic-auth.pass user userserver {
listen 80;
server_name auth.example.com;
access_log /var/log/nginx/auth.access.log main;
location / {
satisfy any;
auth_basic "BASIC AUTH";
auth_basic_user_file http-basic-auth.pass;
deny all;
}
location /test {
return 200 "YES\n";
}
}$ curl -u "admin:admin" http://192.168.100.11/test
YESWebdocket 代理
本部分内参参照 https://www.nginx.com/blog/websocket-nginx/ 和 https://www.nginx.com/blog/nginx-websockets-performance/ 中内容。
本部分部署拓扑示意如下:
Server |
IP |
功能 |
server1 |
10.1.10.9 |
Websocket Client |
server2 |
10.1.10.159 |
Nginx Webdocket 代理 |
server3 |
10.1.10.10 |
Websocket Server |
Websocket Server
sudo apt-get install nodejs npm
mkdir server && cd server
npm install wsconsole.log("Server started");
var Msg = '';
var WebSocketServer = require('ws').Server
, wss = new WebSocketServer({port: 8010});
wss.on('connection', function(ws) {
ws.on('message', function(message) {
console.log('Received from client: %s', message);
ws.send('Server received from client: ' + message);
});
});node server.jsNginx Webdocket 代理配置
http {

    ...

    map $http_upgrade $connection_upgrade {
        default upgrade;
        '' close;
    }

    upstream websocket {
        server 10.1.10.10:8010;
    }

    server {
        listen 8020;
        location / {
            proxy_pass http://websocket;
            proxy_http_version 1.1;
            proxy_set_header Upgrade $http_upgrade;
            proxy_set_header Connection $connection_upgrade;
            proxy_set_header Host $host;
        }
    }

}
Websocket Client
sudo apt-get install nodejs npm
mkdir client && cd client
npm install wsconst WebSocket = require('ws')
const url = 'ws://10.1.10.159:8020/rlzy/ws'
const connection = new WebSocket(url)
connection.onopen = () => {
connection.send('Message From Client')
}
connection.onerror = (error) => {
console.log(`WebSocket error: ${error}`)
}
connection.onmessage = (e) => {
console.log(e.data)
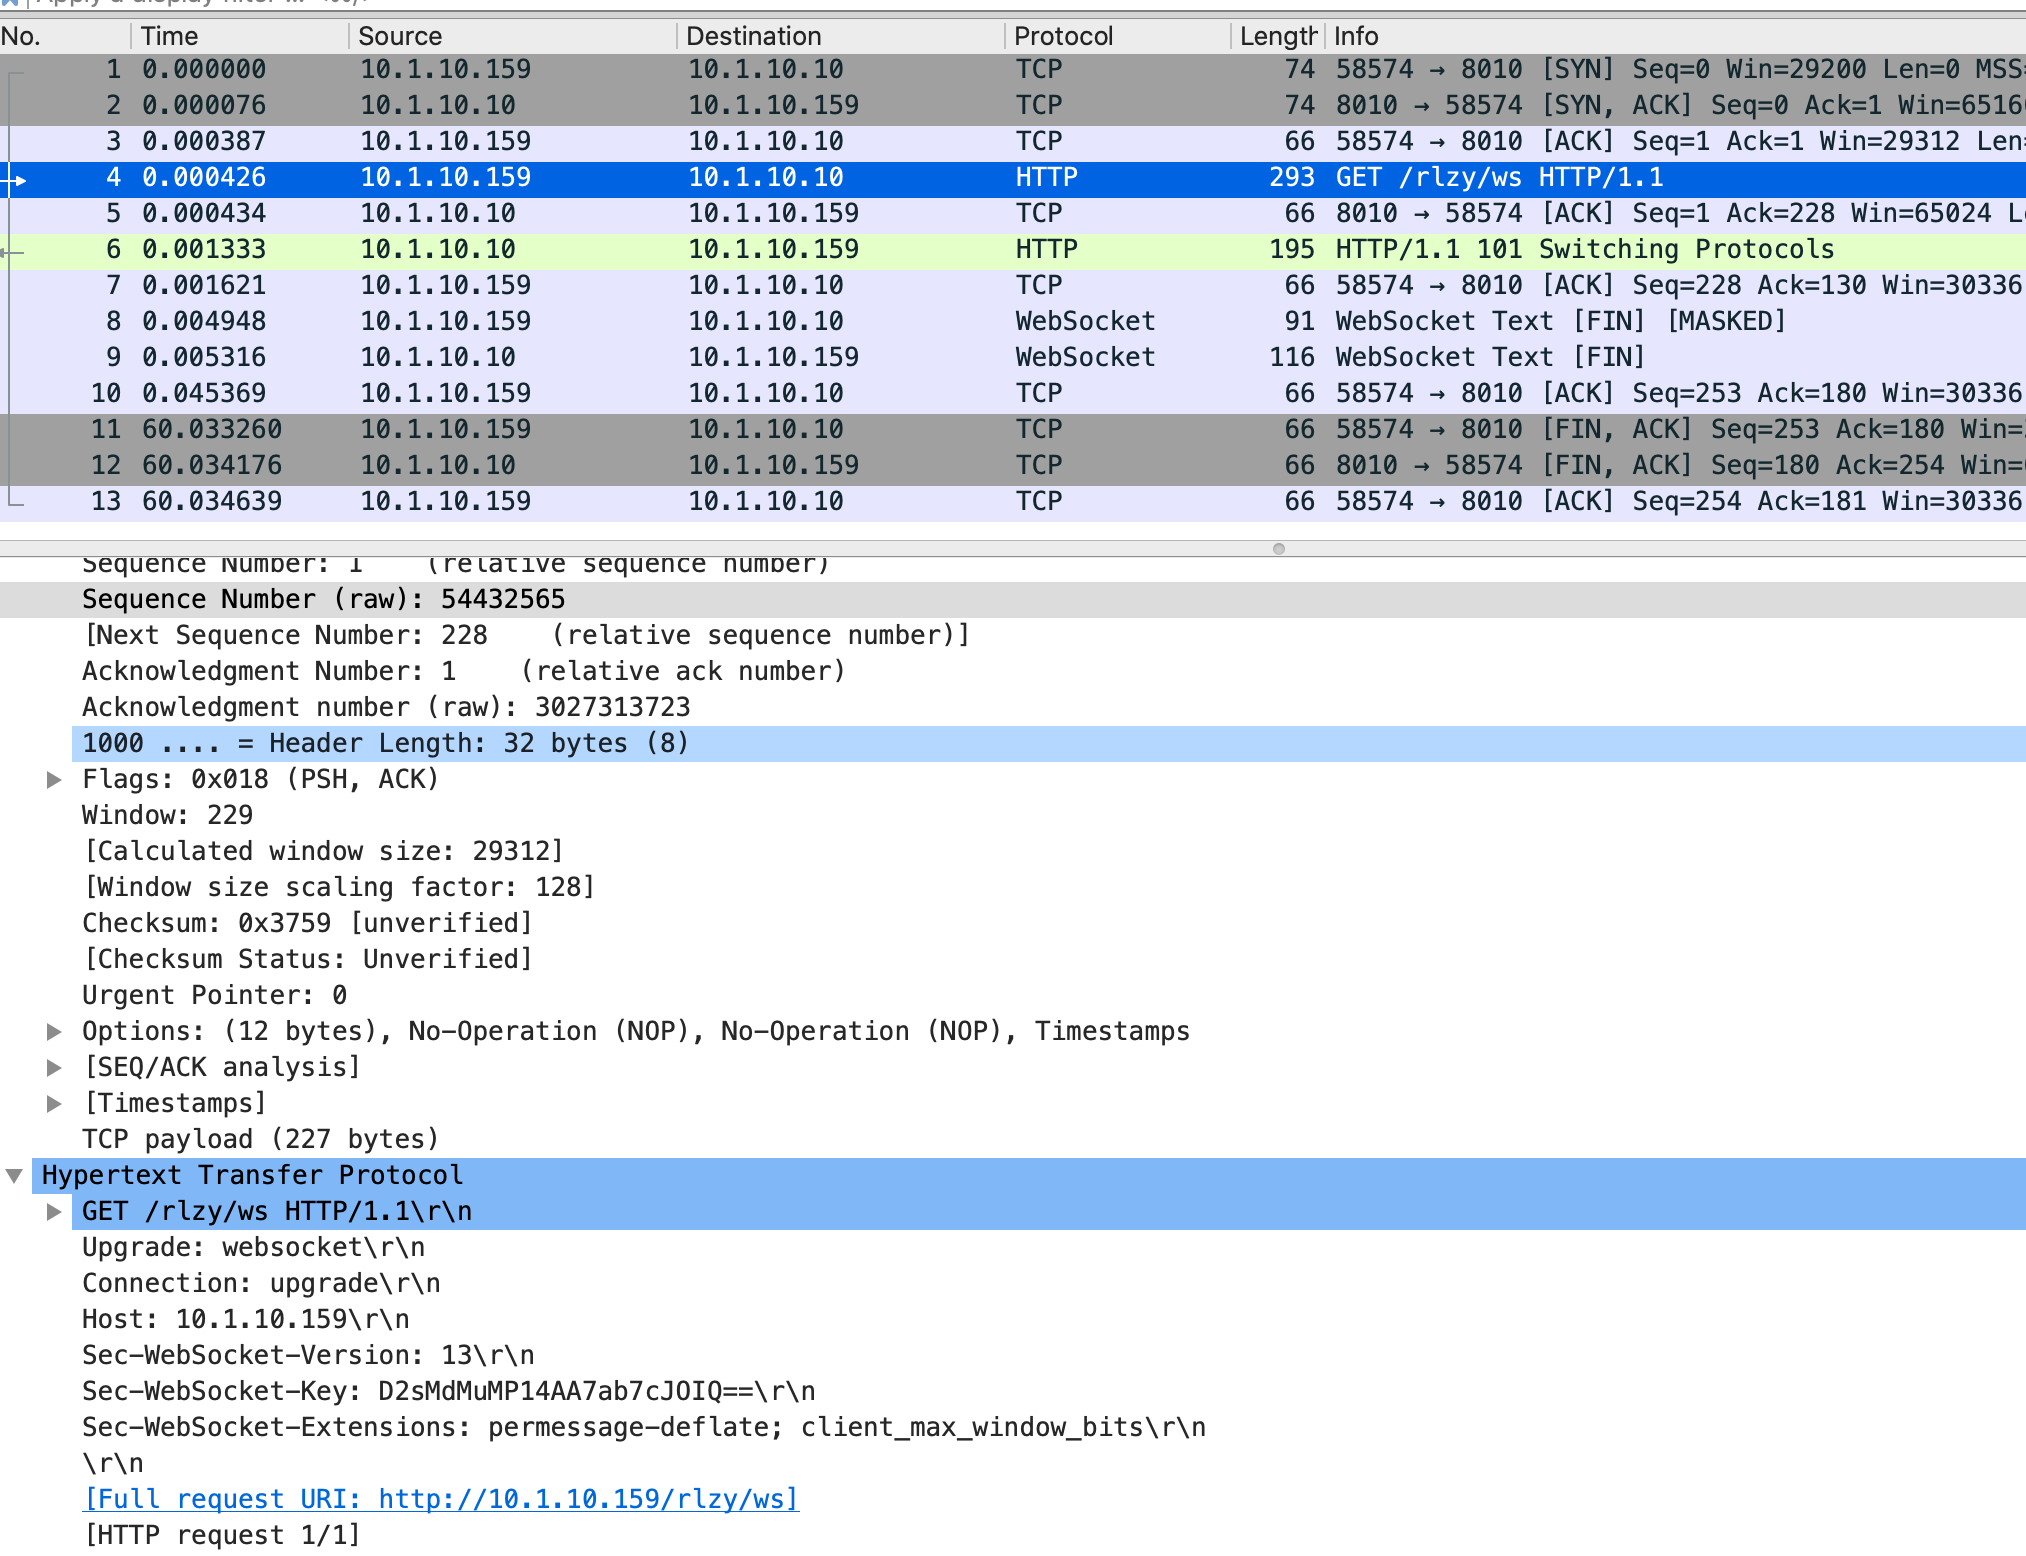
}node client.jsWebsocket Server 端抓包查看底层通信
